Let’s start with the piece that’s taken me the last 6 weeks to finish…
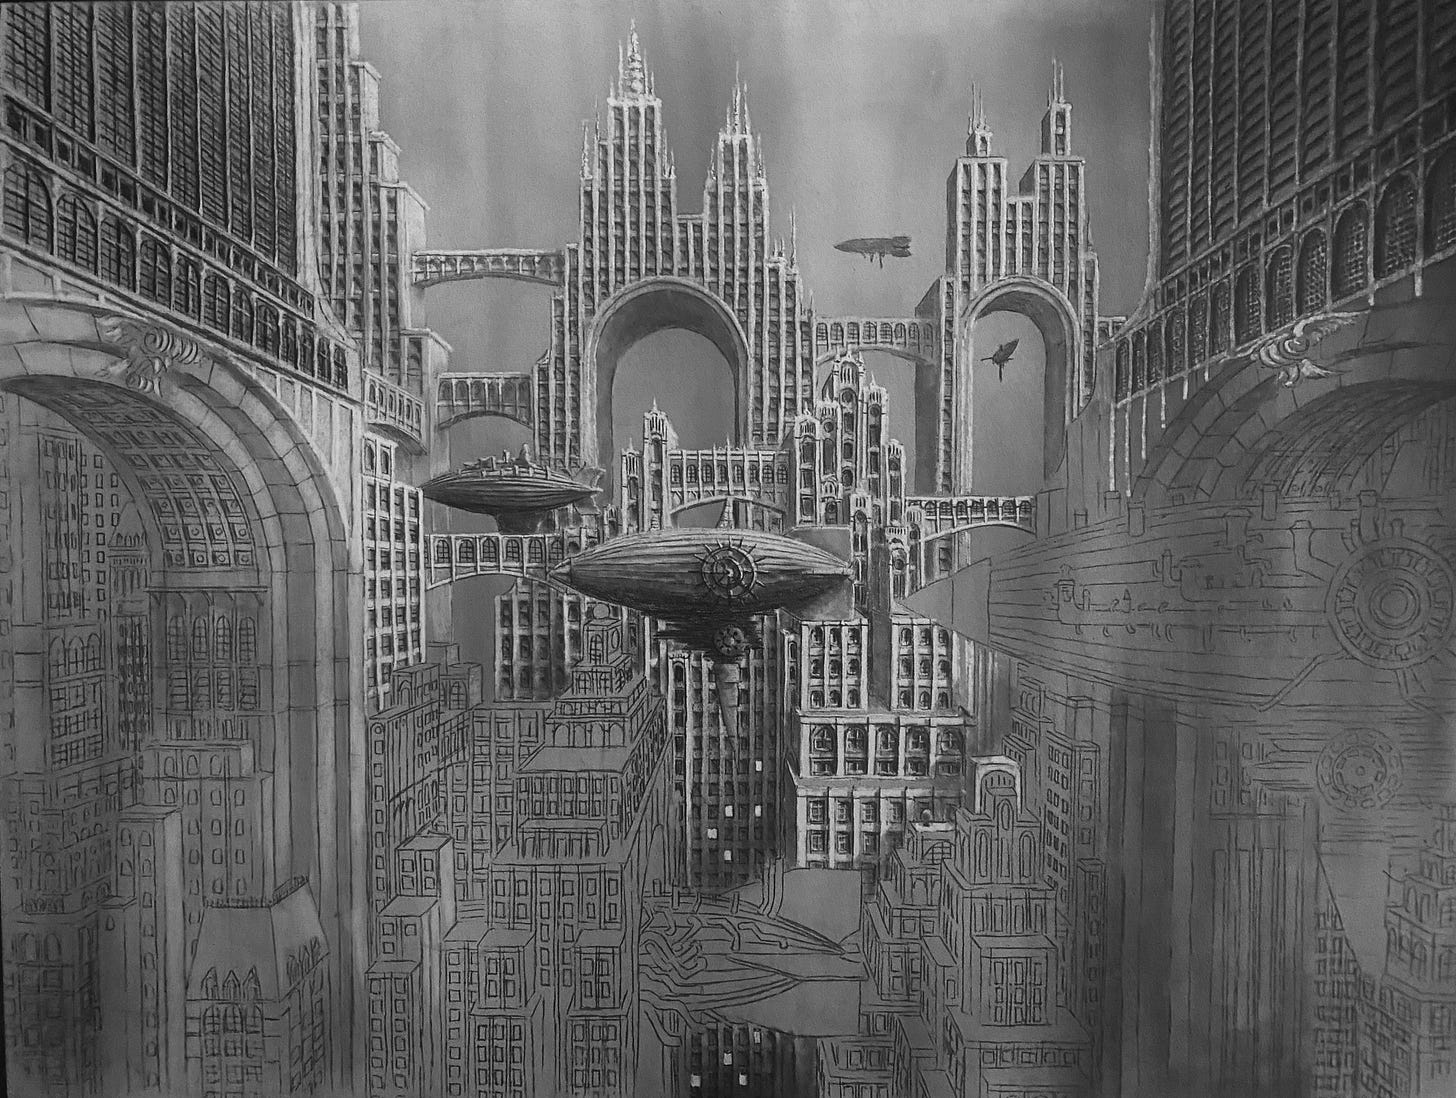
“City of the Future” - or as some clever commenters have noted “…or city of the past” - but since we never actually got to have this in our past, then maybe it still is yet to come. Either way, this is the first real piece I’ve done on 18x24in gesso board rather than paper. In my experiments with other types of surfaces, gesso board (aka “gessobord”) was the closest I could find to paper, with the advantage that it’s a bit more substantial and comes mounted on a wood frame like canvas, so it’s ready-to-hang anywhere from a gallery, to a spare wall in your bathroom.
So as I said, Gesso board was the closest I could find to paper, but it’s not exactly the same. For one thing, it’s a bit more challenging to erase. A regular rubber eraser mostly left big smudge marks on it; my kneaded eraser could lift some graphite off to gently lighten things up; but I mostly had to rely on my electric erasers to fully clear anything away and even then the graphite could be stubborn to lift off. Gesso board “holds” onto graphite quite easily, so it’s easy to get dark tones to come out nicely. Blending behaves a bit differently, since gesso board takes a little more effort to get the graphite to move around on it. It’s a slightly less forgiving surface than paper— it holds onto mistakes more easily, and becomes tougher to get them out the longer you work on it, but overall I like the look of the piece and the solid surface makes it a bit more valuable as a piece of original art. I gave the piece a few coats of fixative in the end and that gave it a nice smooth matte finish.
The drawing process
Most of my detailed drawings start off as an outline. But when I make my outlines, I’ll usually make a big mess — there’s lots of trying stuff, seeing what works, erasing it, trying again, and all along the way I’m smudging it all over with my dirty fingers — so I’ll usually draw the outline on a separate piece of paper and then trace it through onto anther clean sheet to do the final piece on (usually some sort of heavyweight paper). That tracing process usually involves taping the outline onto a piece of plexiglass, placing the clean sheet of paper on top of that, and then shining a light behind it, then tracing the outline through it. Unfortunately, with Gesso board, I couldn’t do any of that.
Since Gesso board is basically a solid panel of wood, I couldn’t shine any lights though it and trace anything onto it. So instead I had to go about it in a rather roundabout way.
First I copied the outline onto a sheet of tracing paper:
I used a 6b pencil for this — very soft graphite to ensure that it would come off later when I needed it to.
Then, I flipped the tracing paper over, placed it face down on the Gesso board and traced the outline again — only this time the tracing was just to press the graphite from the other side of the page into the board.
(Before I did this I’d spread graphite power over the board to give it a soft gray backdrop). With my outline “traced” onto it, it looked like the image above.
And finally after that it was time to start the real drawing…
Overall this piece took me about 6 weeks to finish, and holy shit this was a tedious motherf^%ker.
Up next…
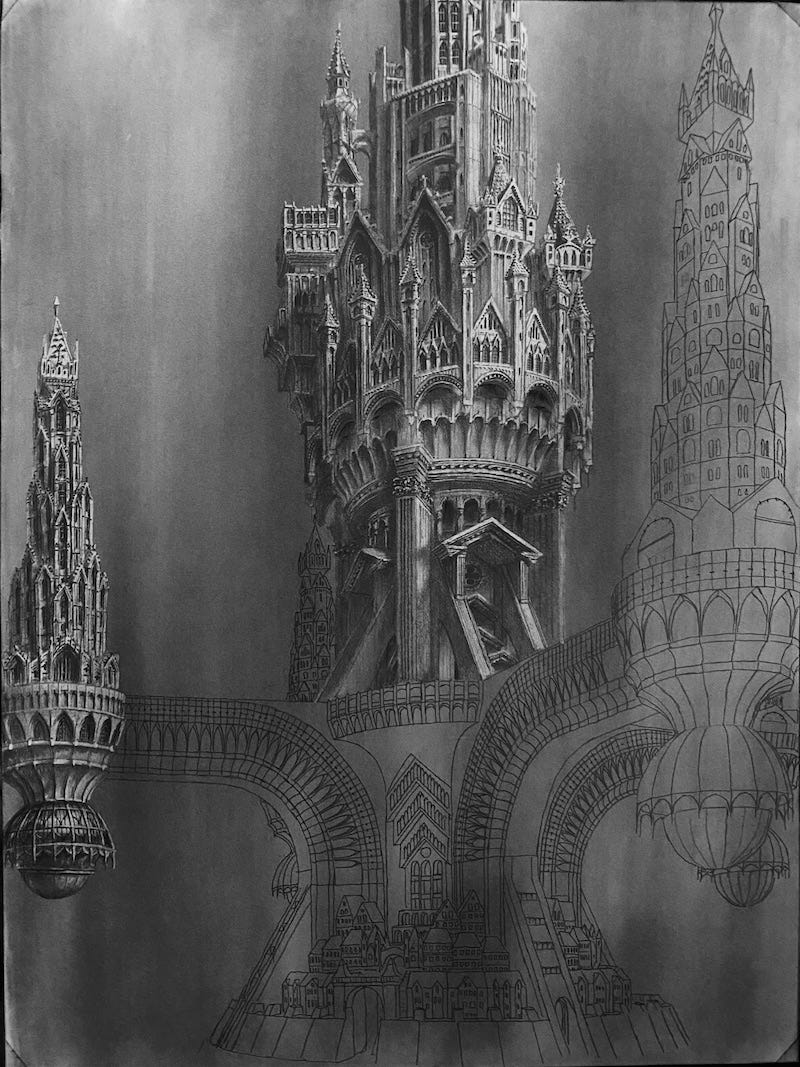
A sneak peak at the next work in progress:
A few months ago I’d dug up an outline I’d made for a piece back in 2007, a time when I’d established the ambitious goal for myself to draw a big f&^king castle. I’ll share more shots of that project, plus the finished piece next week!
Featured print…
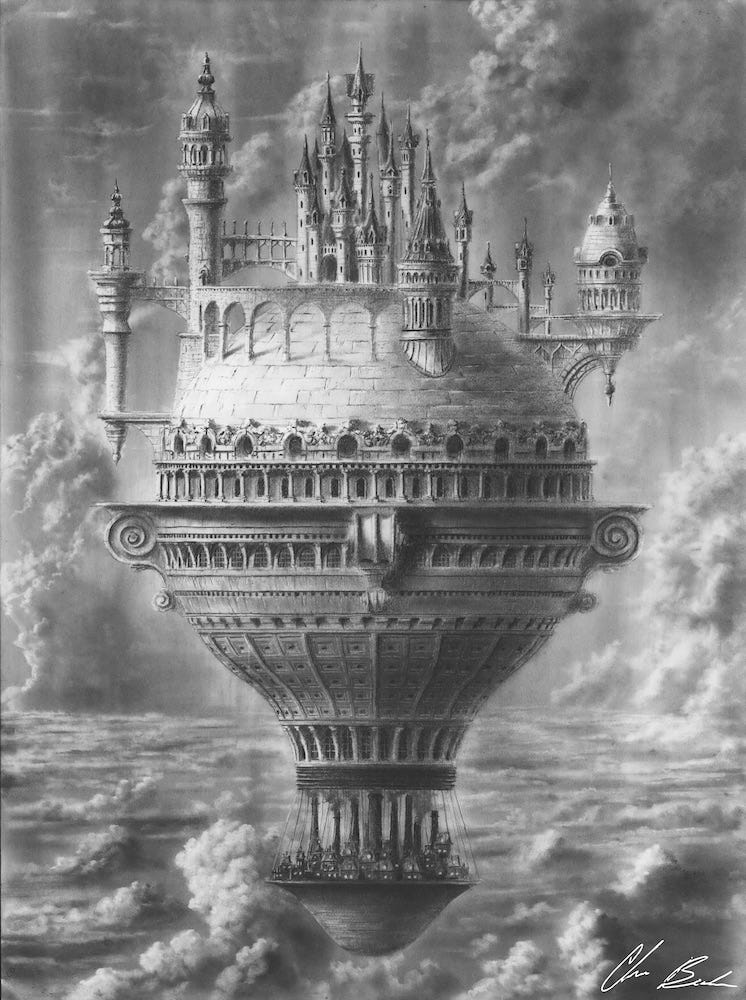
This magical, completely non-airworthy edifice could soon be hanging on your wall! Get yours at https://society6.com/product/lost-kingdom8444105_print?sku=s6-27455679p4a1v45 It’s the perfect piece to hang above your mantelpiece, or if like me you don’t have a mantelpiece, then that prized bit of empty space above your toilet will do too!


